Architectural lighting design for a large estate is the practice of layering ambient, accent, and decorative light sources to reveal a property's architecture, define its outdoor spaces, and deliver practical illumination across expansive grounds. The industry term is architectural exterior lighting, and it applies to properties from 4 to 10+ acres where a single fixture type or circuit simply cannot do the job. Done well, professional lighting design can increase property value by up to 20% while reinforcing security by eliminating dark zones that invite intrusion. This guide walks you through every stage, from initial planning and fixture selection to 3D renderings and final aiming sessions.
What are the key components of architectural lighting design for large estates?
Architectural lighting for estates is built on three distinct layers, and each one serves a different purpose. Ambient light provides the soft base that makes a property feel inhabited and welcoming. Accent light draws the eye to specific features: a stone facade, a row of mature oaks, a gated entry. Decorative light adds personality through statement fixtures like lanterns, pendants, or illuminated water features.
Zoning is the structural backbone of any large property lighting solution. A 5-acre estate cannot run on a single circuit. Multiple independent zones manage voltage drop across wiring runs that regularly exceed 1,000 feet, and they give you independent control over the motor court, the garden, the pool terrace, and the perimeter.
Fixture technology matters as much as placement. Low-voltage LED systems are the standard for outdoor estate lighting because they reduce energy draw, allow precise beam control, and last significantly longer than halogen alternatives. Color temperature is a critical specification. A warm 2700K color temperature complements natural materials like stucco, limestone, and warm wood tones without creating the cold, institutional feel that higher Kelvin ratings produce.
Pro Tip: Request that your lighting designer provide fixture schedules and zone maps before any trenching or conduit work begins. Retrofitting electrical infrastructure after construction is the single most expensive mistake on estate projects.
| Layer | Fixture type | Primary purpose |
|---|---|---|
| Ambient | Recessed linear, hidden soffit | Soft base illumination across large surfaces |
| Accent | Directional spotlights, uplights | Highlight architecture, trees, and focal points |
| Decorative | Lanterns, pendants, feature lighting | Add character and visual interest |
| Perimeter | Path lights, bollards, wall sconces | Safety, boundary definition, and security |
How to plan and execute a bespoke estate lighting design
Commissioning a bespoke estate lighting design follows a clear sequence. Skipping steps creates expensive corrections later.
-
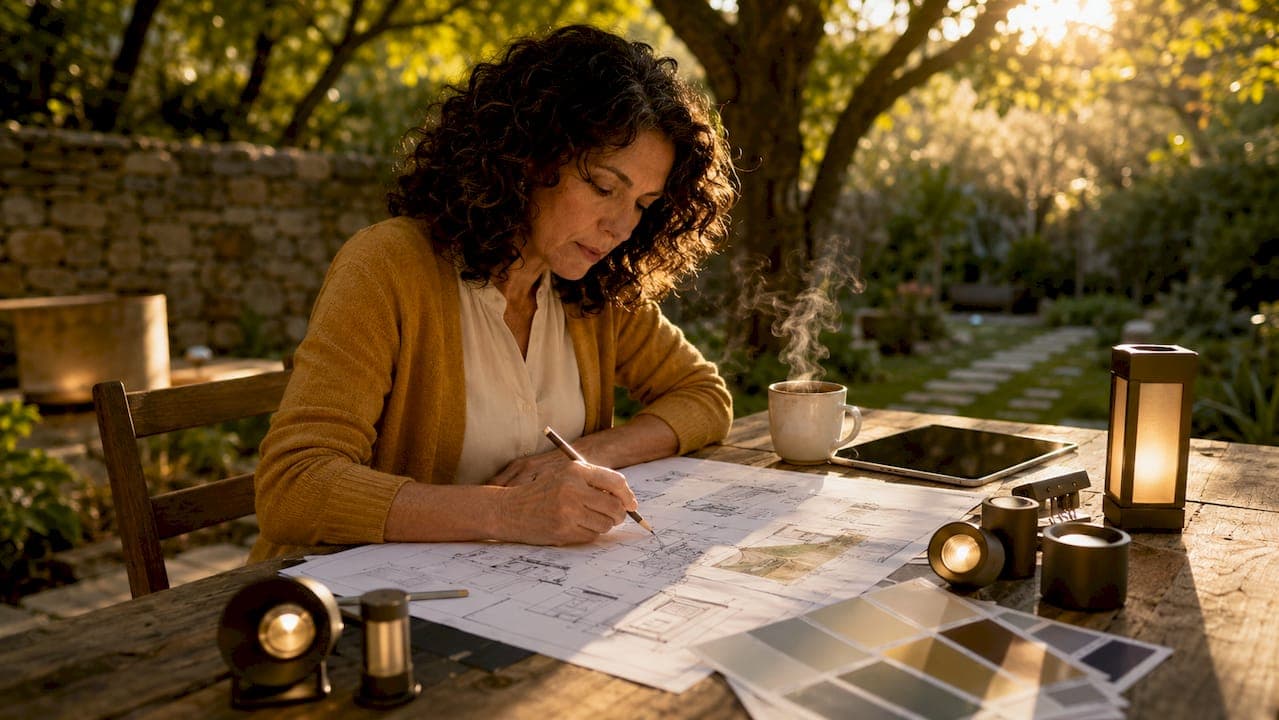
Initial consultation. Walk the property at dusk with your lighting designer. Identify the architectural features worth highlighting, the areas that need functional light, and the zones that should remain dark for privacy or sky-glow management.
-
Formal lighting proposal. Your designer produces a written proposal covering fixture counts, zone layouts, transformer locations, and a phased installation schedule. Large estate projects routinely involve over 100 fixtures and more than 1,000 feet of low-voltage cabling, so this document is your project blueprint.
-
Zone and fixture design. Each zone is designed around the architecture and landscape it serves. A motor court needs even, glare-free illumination. A specimen tree needs a narrow-beam uplight placed at the correct angle to reveal texture without washing out the canopy.
-
3D rendering review. Before installation begins, photorealistic renderings show you exactly how the finished system will look at night. Review these carefully and request revisions. Changes cost nothing at this stage.
-
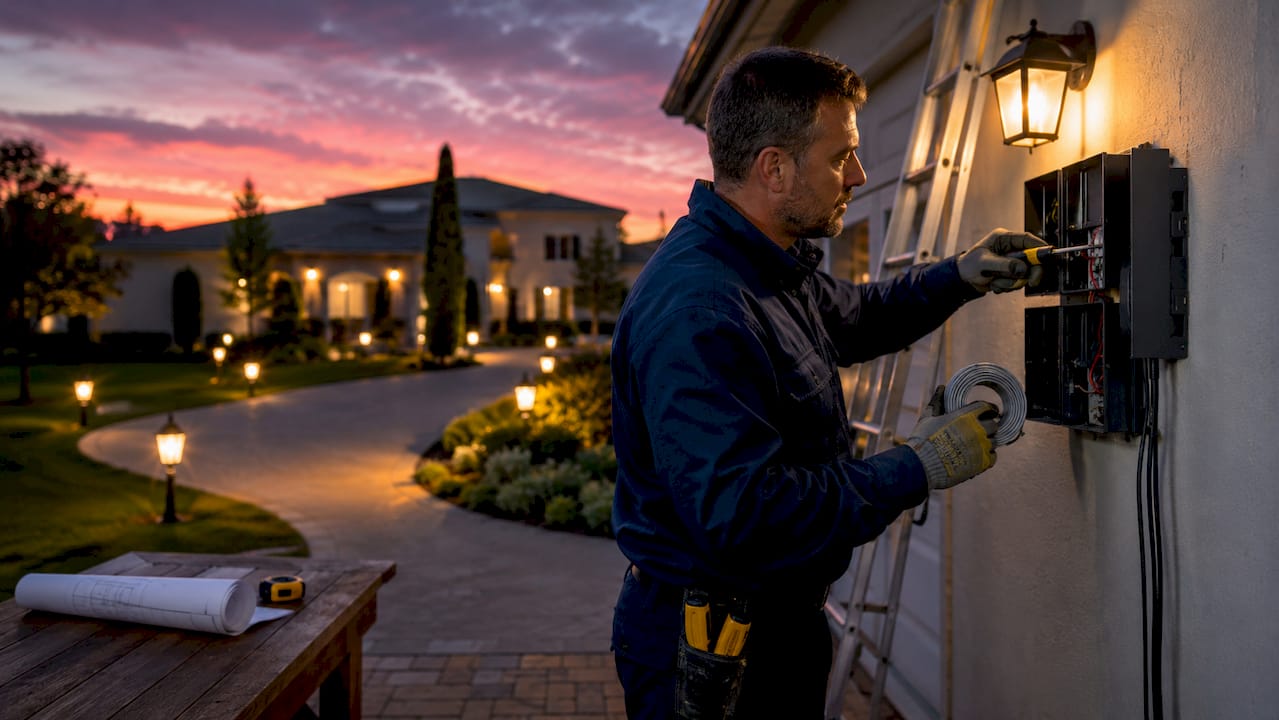
Phased installation. Most estate projects install in phases: electrical infrastructure first, then fixture mounting, then programming. A deposit secures your schedule slot with a qualified crew.
-
Nighttime demo with temporary fixtures. Temporary fixture placement lets you see the planned lighting effects before anything is permanently fixed. This step prevents the most common regret: a fixture aimed two degrees off that creates glare in a bedroom window.
-
Final aiming and programming session. The designer returns at dusk to fine-tune every fixture angle, set scene programs, and confirm that each zone performs as designed.
Pro Tip: Always schedule the final aiming session on a clear night with no moon. Ambient moonlight masks subtle imbalances in beam intensity that will be obvious on darker evenings.
What are best practices for layering and zoning on large properties?

Layering is not just an aesthetic choice. It is the difference between a property that looks alive at night and one that looks like a parking lot. Oversized rooms and long corridors suffer when designers rely exclusively on recessed downlights. The same principle applies outdoors: too many identical fixtures at the same mounting height create a flat, commercial atmosphere.
The ambient base layer should be nearly invisible. Hidden linear fixtures under eaves, recessed step lights, and low-profile path lights provide the foundation without drawing attention to themselves. The accent layer is where the drama lives. Spotlights aimed at a limestone facade, uplights grazing the texture of a garden wall, or a narrow beam picking out a sculpture all create depth and visual hierarchy.
The decorative layer is the most personal. A gated estate in Bel Air might use custom bronze lanterns at the entry pillars. A contemporary Malibu property might use illuminated glass panels along the motor court. These fixtures should support the architecture rather than compete with it.
Electrical zoning for large properties requires careful engineering. Voltage drop becomes a real problem when cable runs exceed 200 feet on a standard 12-volt system. Designers solve this by placing transformers closer to fixture clusters and running independent circuits for each zone. This also means a fault in one zone does not take down the entire system.
Pro Tip: Ask your designer about architectural shading integration when planning outdoor zones. Shade structures and pergolas create natural mounting points for accent fixtures and reduce glare on entertaining terraces.
| Layering technique | Typical fixtures | Visual outcome |
|---|---|---|
| Grazing | Narrow-beam spotlights at low angles | Reveals surface texture on stone and stucco |
| Uplighting | Ground-mounted directional spots | Creates vertical drama on trees and facades |
| Silhouetting | Backlit placement behind plants or sculptures | Bold, graphic shapes against lit surfaces |
| Moonlighting | Fixtures mounted high in tree canopy | Soft, dappled light that mimics natural moonlight |
How do 3D renderings enhance lighting design for luxury estates?
Photorealistic 3D renderings are the most underused tool in luxury home lighting design, and the most valuable. They are not simply documentation. They are a controlled design experiment that lets you approve the mood, the material sheen, and the light-to-dark balance before a single trench is dug.
For ultra-luxury estate projects, rendering packages typically include 8–15 distinct views, covering the main facade, garden zones, entry sequence, and key outdoor rooms. Each view is art-directed, meaning the lighting designer specifies the exact mood and atmosphere rather than leaving it to the rendering artist's interpretation.
The technical side matters as much as the aesthetics. Rendering studios need IES profiles and lumen packages for every fixture in the design. IES files contain the precise beam spread and intensity data for a specific luminaire. Without them, a render may look visually appealing but fail to represent how the actual fixture will perform on site. This is the realism trap: a render that looks correct but functions incorrectly when installed.
- Provide your rendering studio with the full fixture schedule, including manufacturer IES files for every specified luminaire.
- Request separate day and night renders for each key view so you can confirm the daytime aesthetic is not compromised by fixture placement.
- Use renders to test color temperature choices across different materials. A 2700K source reads very differently on white limestone versus dark basalt.
- Review renders on a calibrated monitor in a dim room. Viewing on a bright screen in daylight masks the contrast ratios that matter most at night.
- Approve renders before finalizing the fixture schedule. Changes at render stage cost a fraction of what they cost after installation.
Engaging lighting designers early during architectural planning prevents the most common rendering surprise: discovering that the specified fixture requires a conduit path that was never roughed in during construction.
Key Takeaways
Architectural lighting design for large estates succeeds when layering, zoning, and photorealistic visualization are treated as non-negotiable design disciplines, not optional upgrades.
| Point | Details |
|---|---|
| Layer all three light types | Ambient, accent, and decorative layers together create depth and prevent flat, commercial-feeling results. |
| Zone early and zone often | Independent electrical zones prevent voltage drop and protect the full system from single-point failures. |
| Use IES-accurate renderings | Providing fixture IES profiles to rendering studios prevents costly mismatches between design intent and installed reality. |
| Commission at the design stage | Engaging a lighting designer before construction avoids retrofitting costs and preserves aesthetic integrity. |
| Insist on a nighttime demo | Temporary fixture placement before final installation is the most reliable way to catch aiming and placement errors. |
Why lighting design is the decision most estate owners get wrong
I have walked hundreds of properties after dark, and the pattern is consistent. Homeowners who treated lighting as a finishing touch, something to sort out after the landscaping was done, almost always end up with a system that underperforms. The electrical infrastructure was not planned for the fixture count. The transformer is in the wrong location. The conduit runs do not reach the specimen trees that were always meant to be lit.
Lighting is foundational to architecture, not a finishing touch. The estates that photograph beautifully at night, the ones that feel genuinely alive after dark, are the ones where the lighting designer sat at the table during the architectural planning phase. They specified conduit paths before the concrete was poured. They coordinated with the landscape architect on tree placement so uplights could be positioned correctly from day one.
The other thing I see consistently: homeowners who skip the nighttime demo. They trust the renderings, approve the plan, and sign off on installation without ever standing on the motor court at 9 p.m. to see how it actually feels. Then they call six months later because a spotlight is creating glare in the master bedroom. A single evening with temporary fixtures would have caught it in twenty minutes.
My advice is direct: insist on a nighttime demo before final installation, and hire your lighting designer before your landscape contractor breaks ground. Those two decisions will save you more money and frustration than any fixture upgrade ever could.
— Chris
Transform your estate with Elegantoutdoorlights
Elegantoutdoorlights designs and installs bespoke architectural lighting for the most distinguished estates in Los Angeles, including Bel Air, Beverly Hills, Pacific Palisades, and Malibu. Every project begins with a custom consultation, moves through a detailed proposal and rendering review, and finishes with a designer-led nighttime aiming session to confirm every fixture performs exactly as planned.
Whether you are planning a full landscape lighting installation for a new build or refreshing the lighting on an established estate, Elegantoutdoorlights brings the same white-glove process to every project. For seasonal displays, explore our professional holiday lighting services, designed specifically for large-scale estate installations. Contact Elegantoutdoorlights to schedule your dusk consultation.
FAQ
What is architectural lighting design for a large estate?
Architectural lighting design for a large estate is the practice of layering ambient, accent, and decorative light sources across a property to highlight architecture, define outdoor spaces, and provide functional illumination. It typically involves over 100 fixtures, multiple electrical zones, and a phased installation process.
How many electrical zones does a large estate need?
Most estates of 4 acres or more require multiple independent electrical zones to manage voltage drop across wiring runs that can exceed 1,000 feet. The exact number depends on property size, fixture count, and the complexity of the landscape layout.
What are lighting design renderings for an estate project?
Lighting design renderings are photorealistic 3D visualizations that simulate how a finished lighting system will look at night. Ultra-luxury estate projects typically include 8–15 views, each built with accurate IES fixture data to reflect real-world beam spread and intensity.
How early should I commission a lighting designer for my estate?
Commission your lighting designer during the architectural planning phase, before construction begins. Early engagement allows conduit paths and transformer locations to be integrated into the build, preventing costly retrofits and preserving the property's aesthetic integrity.
Does professional lighting increase estate property value?
Professional architectural lighting can increase property value by up to 20% while also improving security by eliminating dark zones around the perimeter and landscape.