
TL;DR:
- Proper storage involves removing, drying, wrapping, labeling, and organizing Christmas lights to prolong their lifespan. Starting during removal ensures lights stay untangled, undamaged, and ready for next season with less hassle. Using appropriate containers and labeling saves time and reduces the risk of early failure.
Christmas light storage is the process of properly removing, drying, organizing, and storing your holiday lights so they stay functional, untangled, and undamaged for future use. Most homeowners treat it as an afterthought, tossing strands into a box and hoping for the best. That approach costs real money. Lights that are stored carelessly tangle, corrode, and fail prematurely, forcing you to replace them season after season. Understanding what christmas light storage involves, from timing and wrapping to labeling and container choice, is the difference between lights that last for years and lights that end up in the trash by february.
What does Christmas light storage actually involve?
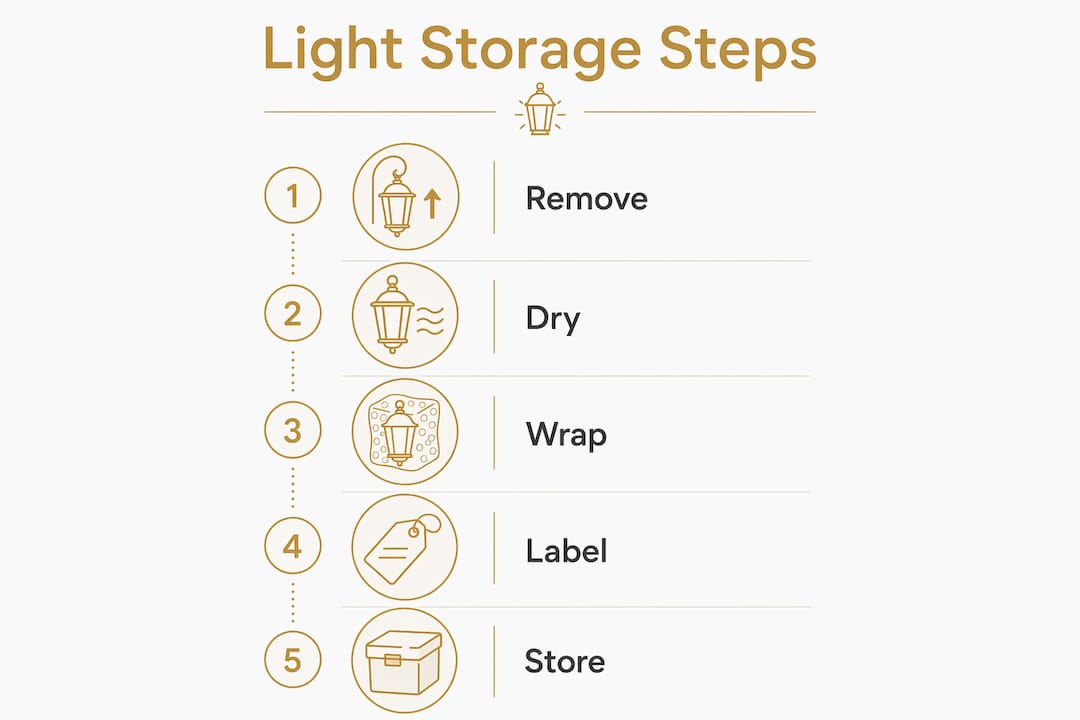
Christmas light storage is a multi-step process, not a single action. It covers removal, drying, wrapping, labeling, and placing lights in the right container in the right environment. Each step protects a different part of the strand. Skip one, and you create a problem that shows up next november when you pull the lights out and find a tangled, corroded mess.
The process starts the moment you take lights down. Storage begins during removal, meaning lights should be dry and cool before packing to prevent corrosion and bulb failure. That single fact changes how most homeowners approach the whole job. It also means you cannot rush the process on a warm afternoon and expect good results next year.
Holiday lighting is a real investment, especially for homeowners with large displays or professional holiday lighting installed across rooflines, trees, and architectural features. Treating those lights as a long-term asset, not a disposable seasonal item, is the mindset that makes proper storage worth the effort.
When and how to remove Christmas lights after the holidays
Timing matters more than most homeowners realize. Removing lights within 1–2 weeks after New Year's reduces degradation and prevents corrosion from winter moisture. Leaving lights up through january or february exposes wire insulation to rain, UV, and temperature swings that shorten their lifespan significantly.
The removal technique is just as important as the timing. Avoid pulling strands in bunches. Remove each strand slowly and manually to preserve clips, sockets, and wire insulation. Yanking a strand off a roofline in one pull is the fastest way to crack a socket or snap a wire at the connection point.
Before you pack anything away, follow these removal best practices:
- Unplug all strands completely before touching them
- Remove lights during dry weather, not after rain or heavy dew
- Let strands air dry fully if any moisture is present
- Check each strand for broken bulbs or damaged clips during removal
- Coil each strand loosely as you take it down, never in tight loops
Pro Tip: Lay strands flat on a clean, dry surface for 30–60 minutes before wrapping. Any hidden moisture in the sockets will evaporate, and you will avoid the corrosion that kills bulbs in storage.
Best methods for wrapping and organizing light strands
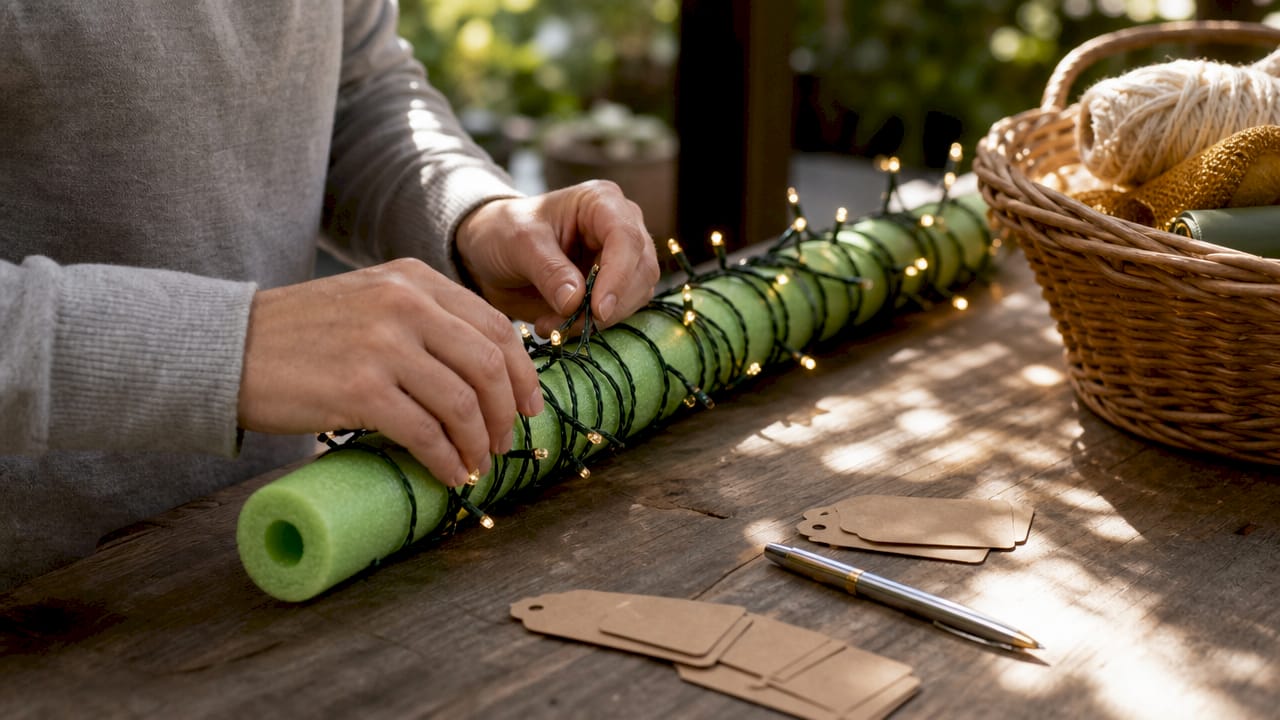
Wrapping technique is where most homeowners lose the battle against tangles. Wrapping strands around pool noodles or cardboard reels prevents tangles and protects wire insulation. The soft surface of a pool noodle cushions the wire, while the shape keeps the strand from kinking at tight angles.
Tight wrapping is the enemy of wire health. When you wrap a strand too tightly around a thin object, you stress the insulation at every bend. Over months in storage, that stress creates micro-cracks that cause shorts or dead sections next season. Loose, even wrapping around a wide, soft form is always the better choice.
Effective wrapping and organizing options include:
- Pool noodles: Cut to length, wrap the strand in even loops, and secure with a velcro strap
- Cardboard reels: Cut notches in a piece of cardboard and wind the strand between them
- Original manufacturer reels: If your lights came on a reel, rewind them the same way
- Wire hangers: Bend into a wide oval and wrap strands in figure-eight loops to reduce twist
- Velcro straps or twist ties: Use at the start and end of each strand to keep loops from unwinding
Group strands by type or by location on your property. Roofline strands go together, tree strands go together, and window strands go together. That grouping pays off immediately when you set up next season.
Pro Tip: Attach a small tag to each wrapped strand before storing it. Write the strand length and the location where it was used. That 10-second step saves 20 minutes of guesswork next november.
| Wrapping method | Best for | Wire protection level |
|---|---|---|
| Pool noodle | Long strands, LED and incandescent | High |
| Cardboard reel | Short to medium strands | Medium |
| Original manufacturer reel | Any strand that came on a reel | High |
| Wire hanger oval | Medium strands, quick storage | Medium |
| Loose hand coil | Emergency only, short term | Low |
How to label and inventory your lights for next season
Labeling is the step that separates a frustrating setup day from a smooth one. Organized labeling and inventory reduces holiday setup time by over 30%. That is not a small gain. For a large home with multiple display zones, that can mean the difference between a two-hour setup and a five-hour one.
A simple labeling system works better than a complex one. Write the location directly on a piece of masking tape and attach it to the wrapped strand. You can also use a permanent marker on a luggage tag tied to the velcro strap. The goal is to know exactly where each strand goes before you open a single bin.
A practical inventory system includes:
- A written list or phone note of every strand, its length, and its location
- Photos taken during installation showing which lights go where
- A count of spare bulbs and replacement fuses stored in a small labeled bag
- Storage bins divided by zone, such as "front yard," "roofline," and "backyard trees"
- A note of any strands that need repair or replacement before next season
Photo documentation is underused and extremely effective. Take a photo of your display from the street before you remove anything. That image becomes your installation blueprint next year, removing all guesswork about which strand goes where.
What storage environment and containers protect lights best?
The storage environment determines how long your lights actually last. Indoor climate-controlled spaces protect against temperature-induced damage. Attics and garages with extreme temperature swings are the worst places to store lights. Heat softens wire insulation, cold makes it brittle, and repeated cycling between the two causes it to crack.
Pest damage is a serious and underappreciated risk. Rodents chewing on wiring can cause dangerous shorts and fires. A sealed plastic bin is not just about organization. It is a fire prevention measure. An open cardboard box in a garage is an invitation for mice to nest in your holiday lights.
Airtight plastic bins paired with silica gel packets control moisture and extend light lifespan. Place one or two silica gel packets in each bin before sealing it. They absorb the residual humidity that causes corrosion on bulb contacts and wire connectors.
Storage environment best practices:
- Choose a dry, climate-controlled indoor closet, basement, or utility room
- Use hard-sided airtight plastic bins with tight-fitting lids
- Add silica gel packets to each bin to absorb moisture
- Keep bins off the floor on shelves to protect against minor flooding or condensation
- Label the outside of each bin with its contents and zone
| Storage location | Temperature stability | Pest risk | Recommended |
|---|---|---|---|
| Indoor climate-controlled closet | High | Low | Yes |
| Basement (dry) | Medium | Low to medium | Yes, with sealed bins |
| Garage | Low | High | No |
| Attic | Very low | Medium | No |
Quality control before you seal the bins
A quality check before storage is the step that makes next year's setup genuinely easy. Inspecting, testing, cleaning, and labeling strands before storing them produces better performance and fewer failures next season. Think of it as a five-minute investment that saves an hour of troubleshooting in november.
Follow this sequence before sealing any bin:
- Test each strand by plugging it in and checking every section for dead bulbs or flickering
- Replace failed bulbs using spare bulbs from the manufacturer's included pack or a matching replacement set
- Inspect wire insulation along the full length of each strand for cracks, fraying, or exposed copper
- Discard any strand with damaged insulation or a cracked socket rather than storing a fire hazard
- Wipe down each strand with a dry cloth to remove dust, pollen, and outdoor debris
- Store controllers and smart components in padded pouches or small boxes inside the main bin
- Set a calendar reminder for mid-october to pull lights out, retest them, and address any issues before the season rush
Testing before storage, not after, is the key habit. If you find a dead strand in november, you have no time to order a replacement. If you find it in january, you have ten months to solve the problem calmly.
Key Takeaways
Proper Christmas light storage protects your investment, prevents fire hazards, and cuts next season's setup time by over 30% when done with labeling and organized bins.
| Point | Details |
|---|---|
| Remove lights promptly | Take lights down within 1–2 weeks after New Year's to prevent corrosion and weather damage. |
| Wrap strands correctly | Use pool noodles or cardboard reels with loose, even loops to protect wire insulation. |
| Label every strand | Tag each strand by location and length to reduce setup time significantly next season. |
| Choose the right container | Use airtight plastic bins with silica gel packets, stored on shelves in a climate-controlled space. |
| Test before storing | Inspect, clean, and replace damaged bulbs before sealing bins to avoid surprises next november. |
Why I think most homeowners get storage backwards
The most common mistake I see is treating storage as the last step of the holiday season instead of the first step of next year's installation. Homeowners rush the takedown, stuff strands into whatever box is nearby, and then spend an hour in november untangling a mess that took five minutes to create. That frustration is entirely avoidable.
The other thing I have learned is that the quality of your storage directly reflects how seriously you treat your lighting as an investment. A set of commercial-grade LED strands installed across a roofline and mature trees represents real money. Storing them in a damp garage in a cardboard box is like leaving a good piece of equipment outside in the rain. The lights will fail early, and you will spend more replacing them than you ever would have spent on a proper storage setup.
My honest advice: start the storage process during removal, not after. The moment you take a strand down, you are already making storage decisions. Dry it, wrap it, tag it, and place it in the right bin before you move to the next strand. That habit, done consistently, means you never face the tangled-mess problem again. It also means your lights last longer, your setup goes faster, and the whole holiday season feels less like a chore and more like something worth looking forward to.
— Chris
Professional light removal and storage by Elegant Outdoor Lights
For homeowners who want their lighting handled with the same care it took to install it, Elegant Outdoor Lights offers full-service removal and organized storage as part of its white-glove holiday lighting program.

Every strand is removed carefully, inspected, wrapped, and stored in labeled bins so your display is ready to go next season without any guesswork. Elegant Outdoor Lights serves estates across Bel Air, Beverly Hills, Pacific Palisades, and Malibu, where the standard for every detail, including post-season care, is exceptionally high. If you are ready to take the hassle out of holiday lighting from installation through storage, explore professional holiday light services and see what a fully managed display looks like from start to finish.
FAQ
When should I take down Christmas lights?
Remove Christmas lights within 1–2 weeks after New Year's Day. Leaving them up longer exposes wire insulation to moisture and UV damage that shortens their lifespan.
What is the best way to store Christmas lights without tangles?
Wrap each strand around a pool noodle or cardboard reel using loose, even loops, then secure with a velcro strap. This method protects wire insulation and keeps strands tangle-free in storage.
Where should I store Christmas lights at home?
Store lights in airtight plastic bins with silica gel packets, placed on shelves in a dry, climate-controlled indoor space. Avoid attics and garages, where temperature swings and pests cause wire damage.
Do I need to test lights before storing them?
Yes. Testing each strand before storage lets you identify and replace failed bulbs while you still have time to order replacements calmly, rather than scrambling in november when the season starts.
How does labeling help with holiday light storage?
Labeling each strand by location and keeping a simple inventory reduces setup time by over 30%. You will know exactly which strand goes where before you open a single bin.