
TL;DR:
- The estate lighting design process involves multiple phases, including site analysis, consultation, proposal, permit approval, installation, and commissioning. This structured approach ensures a safe, beautiful, and compliant lighting system that enhances estate features after dark. Proper planning and precision adjustments are crucial for achieving a dramatic and effective outdoor illumination.
The estate lighting design process is a structured, multi-phase approach to transforming large private properties through carefully planned illumination. Professionals in the field call this architectural landscape lighting design, a term that captures both the technical and aesthetic ambitions of the work. A full project runs 4–12 weeks end-to-end, with the design phase alone consuming 2–6 weeks. That timeline reflects the depth of planning required to achieve lighting that is beautiful, safe, and code-compliant. For homeowners and estate managers in Bel Air, Beverly Hills, Pacific Palisades, and Malibu, understanding each phase means fewer surprises and a far better result.
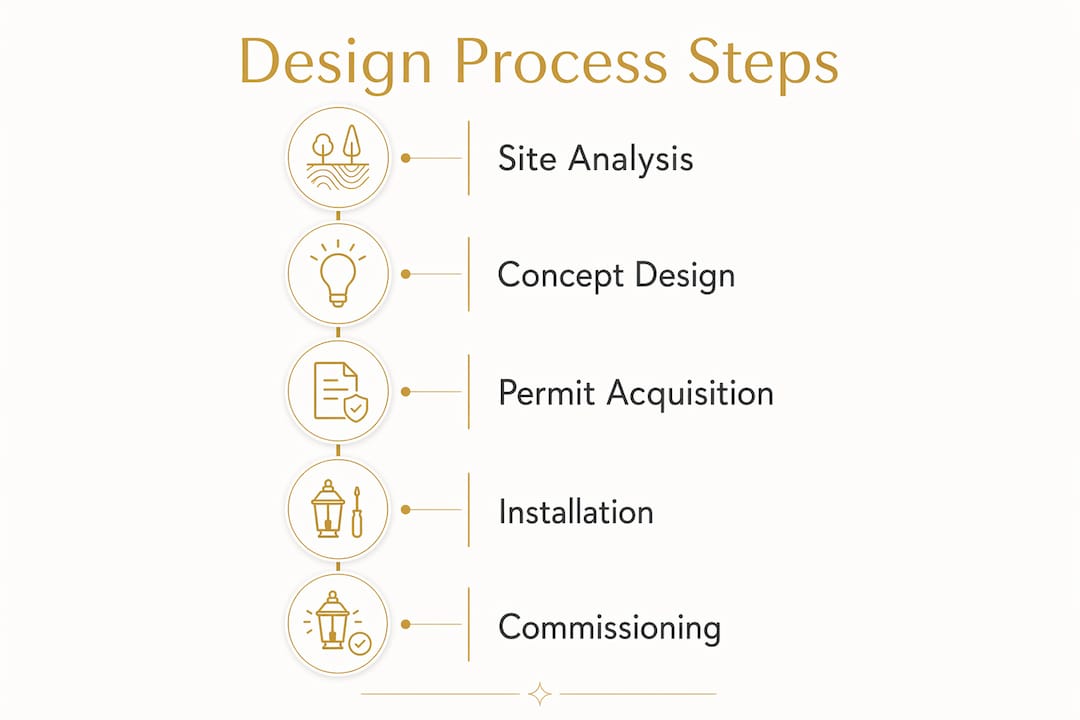
What are the key stages in the estate lighting design process?
The process follows a clear sequence, and skipping any stage creates problems that surface later, usually at night and usually expensively.
-
Remote site analysis. Leading designers conduct GIS and aerial surveys before setting foot on the property. This preparation identifies scale, tree canopy, architectural features, and potential wiring constraints before the first consultation. The result is a meeting focused on creative decisions, not basic discovery.
-
Personalized consultation. The designer meets with the homeowner or estate manager to understand priorities: security, ambiance, seasonal displays, or all three. This is where the lighting design brief takes shape. A strong brief documents preferred color temperatures, fixture styles, zones to highlight, and any areas to keep dark.
-
Custom proposal and estimate. The designer delivers a detailed lighting proposal covering fixture selections, wiring plans, control systems, and a full cost breakdown. Professional estate projects typically require a 50% deposit after proposal approval, with the remaining balance due upon completion and client satisfaction. Reviewing this document carefully is the best way to avoid scope disputes later.
-
Permit procurement. Electrical permits are required for line-voltage fixtures and extensive wiring runs. Permit approval takes 2–6 weeks and must be factored into the project schedule from day one. Starting the permit process before finalizing fixture orders saves significant time.
-
Wiring and fixture installation. Wiring runs 5–14 days depending on property size, followed by fixture placement over 3–10 days. Installers trench, pull wire, mount fixtures, and rough-aim each unit before the commissioning session.
-
Final commissioning. The designer returns at night to fine-tune every fixture. This session is where the real design work happens, adjusting beam angles, confirming scene settings, and walking the client through the finished result.
Pro Tip: Schedule your consultation in late summer or early fall. Permit timelines and installer availability in Los Angeles tighten significantly between october and december, which can push a project well past the holiday season.
Which techniques and principles guide high-end estate lighting design?
Professional designers work from a composition philosophy, not a coverage philosophy. The goal is depth and drama, not uniform brightness.
- Uplighting. Fixtures placed at grade aim upward to accent trees, columns, and architectural facades. Specimen trees lit this way become architectural presences after dark rather than background shapes.
- Grazing. A fixture placed close to a textured surface, such as stone or stucco, rakes light across it to reveal texture. This technique works well on garden walls, entry gates, and exterior cladding.
- Downlighting. Fixtures mounted in trees or on structures cast soft pools of light below, mimicking natural moonlight. This is the technique most often used to light outdoor dining areas and pathways without harsh glare.
- Silhouetting. A fixture placed behind a plant or sculpture and aimed at a wall creates a dramatic shadow outline. The effect is subtle but powerful on properties with strong architectural backdrops.
- Color temperature control. Warm sources in the 2700K–3000K range produce the amber glow that reads as inviting and luxurious. Cooler temperatures above 4000K feel clinical and are rarely appropriate for residential estates.
Smart control systems add another layer of flexibility. Programmable schedules, scene presets, dimming, and remote operation let estate managers adjust the property's appearance for different occasions without touching a single fixture. Basic setups use timers or photocells, but luxury estates benefit from full automation integrated with the home's broader control platform.
Pro Tip: Hide the light source, show the effect. If you can see the bulb from the street or from inside the house, the fixture needs to be repositioned or shielded. Visible sources create glare and undermine the composition.

How to manage technical and compliance considerations
Technical compliance is not optional. Code failures require re-trenching, re-wiring, and re-inspection, all of which add cost and delay.
The most common compliance issues on estate projects include:
- Burial depth. Low-voltage wiring must be buried at a minimum of 6 inches to pass safety inspections. Wiring left at 2 inches under mulch is a frequent inspection failure point. Installers should use metal probes at intervals along each run to verify depth before backfilling.
- Waterproof connections. All wire splices and fixture connections in outdoor environments require waterproof wire nuts or gel-filled connectors. Standard twist connectors fail within one season when exposed to irrigation and rain.
- Conduit requirements. Line-voltage wiring crossing driveways or hardscape must run through conduit. This protects the wire and simplifies future repairs without breaking pavement.
- Permit scope. Low-voltage systems under a certain wattage threshold often do not require permits, but line-voltage fixtures and transformer installations almost always do. Confirm the local requirement with your designer before ordering fixtures.
| Compliance area | Common failure | Prevention method |
|---|---|---|
| Wiring burial depth | Less than 6 inches | Probe-check every run before backfilling |
| Outdoor connections | Non-waterproof splices | Use gel-filled or waterproof wire nuts |
| Conduit under hardscape | Bare wire under pavers | Install conduit sleeves during hardscape work |
| Permit coverage | Unpermitted line-voltage work | Confirm scope with designer before installation |
Understanding full-service lighting contracts before signing helps estate managers confirm that compliance responsibilities are clearly assigned to the installing firm, not left ambiguous.
Why are nighttime mock-ups and commissioning critical?
Photometric software produces useful estimates, but it cannot replicate real conditions. Material reflectance, ambient light from neighboring properties, and the actual color of your stucco all change how a fixture reads on site. Nighttime mock-ups are the only reliable way to see what the finished installation will look like.
The mock-up process works like this:
- The designer places temporary fixtures at proposed locations before any wiring is committed.
- The client and designer walk the property after dark and evaluate each effect.
- Beam angles, fixture positions, and lamp selections are adjusted based on what is actually seen, not what was modeled.
- Notes from the walk inform the final installation plan.
The precision required during commissioning is higher than most clients expect. Aiming adjustments as small as 5 degrees dramatically change the appearance of a lit tree or facade. A beam aimed 5 degrees too high misses the canopy entirely and lights the sky. A beam aimed 5 degrees too low creates a bright patch at the base and leaves the crown dark. The outdoor lighting commissioning process is where a technically correct installation becomes a visually exceptional one.
Pro Tip: Budget for two nighttime sessions, not one. The first walk reveals what needs to change. The second confirms that the changes worked. Trying to compress both into a single night almost always leaves something unresolved.
Key Takeaways
A successful estate lighting project requires site analysis, layered design techniques, strict technical compliance, and designer-led nighttime commissioning to achieve both beauty and safety.
| Point | Details |
|---|---|
| Plan for the full timeline | Projects run 4–12 weeks; permits alone can take 2–6 weeks, so start early. |
| Composition beats coverage | Layer uplighting, downlighting, and grazing instead of relying on floodlights. |
| Compliance prevents rework | Bury low-voltage wire at least 6 inches and use waterproof connections throughout. |
| Mock-ups reveal the truth | Software simulations cannot replace an actual nighttime walk-through before installation. |
| Commissioning is precision work | A 5-degree aiming change can make or break the final visual effect of any fixture. |
What I've learned from watching estate lighting projects succeed and fail
The projects that go wrong almost always share one trait: the client and designer skipped the preparation phase and went straight to fixture selection. Choosing a beautiful fixture for the wrong location is one of the most expensive mistakes in this business. The fixture looks great in a catalog and looks wrong on the property, and by the time anyone notices, the wiring is in the ground.
Remote site analysis before the first consultation is not a luxury step. It is the reason a designer can walk onto a property and immediately discuss solutions rather than spending the visit measuring and photographing. That preparation shifts the entire conversation toward the client's vision, which is where it belongs.
Layered lighting is also more underappreciated than I expected when I started working in this space. Homeowners often arrive at the consultation asking for "more light." What they actually want is more presence after dark. Those are different things. A property lit with multiple low-intensity sources at different heights and angles reads as rich and dimensional. The same property lit with a handful of bright floodlights reads as a parking lot. The distinction is composition, and it is the single most important concept in professional landscape lighting design.
The nighttime demo is the moment clients finally see what the designer has been describing. Every client I have worked with who attended a mock-up session made better decisions than clients who skipped it. The demo is not a sales tool. It is a calibration tool, and it protects both the client and the designer from misaligned expectations.
— Chris
Elegant Outdoor Lights: custom estate lighting for Los Angeles properties
Elegant Outdoor Lights designs and installs architectural landscape lighting for private estates across Bel Air, Beverly Hills, Pacific Palisades, and Malibu. Every project begins with a personalized consultation and a custom design brief built around your property's architecture and grounds.
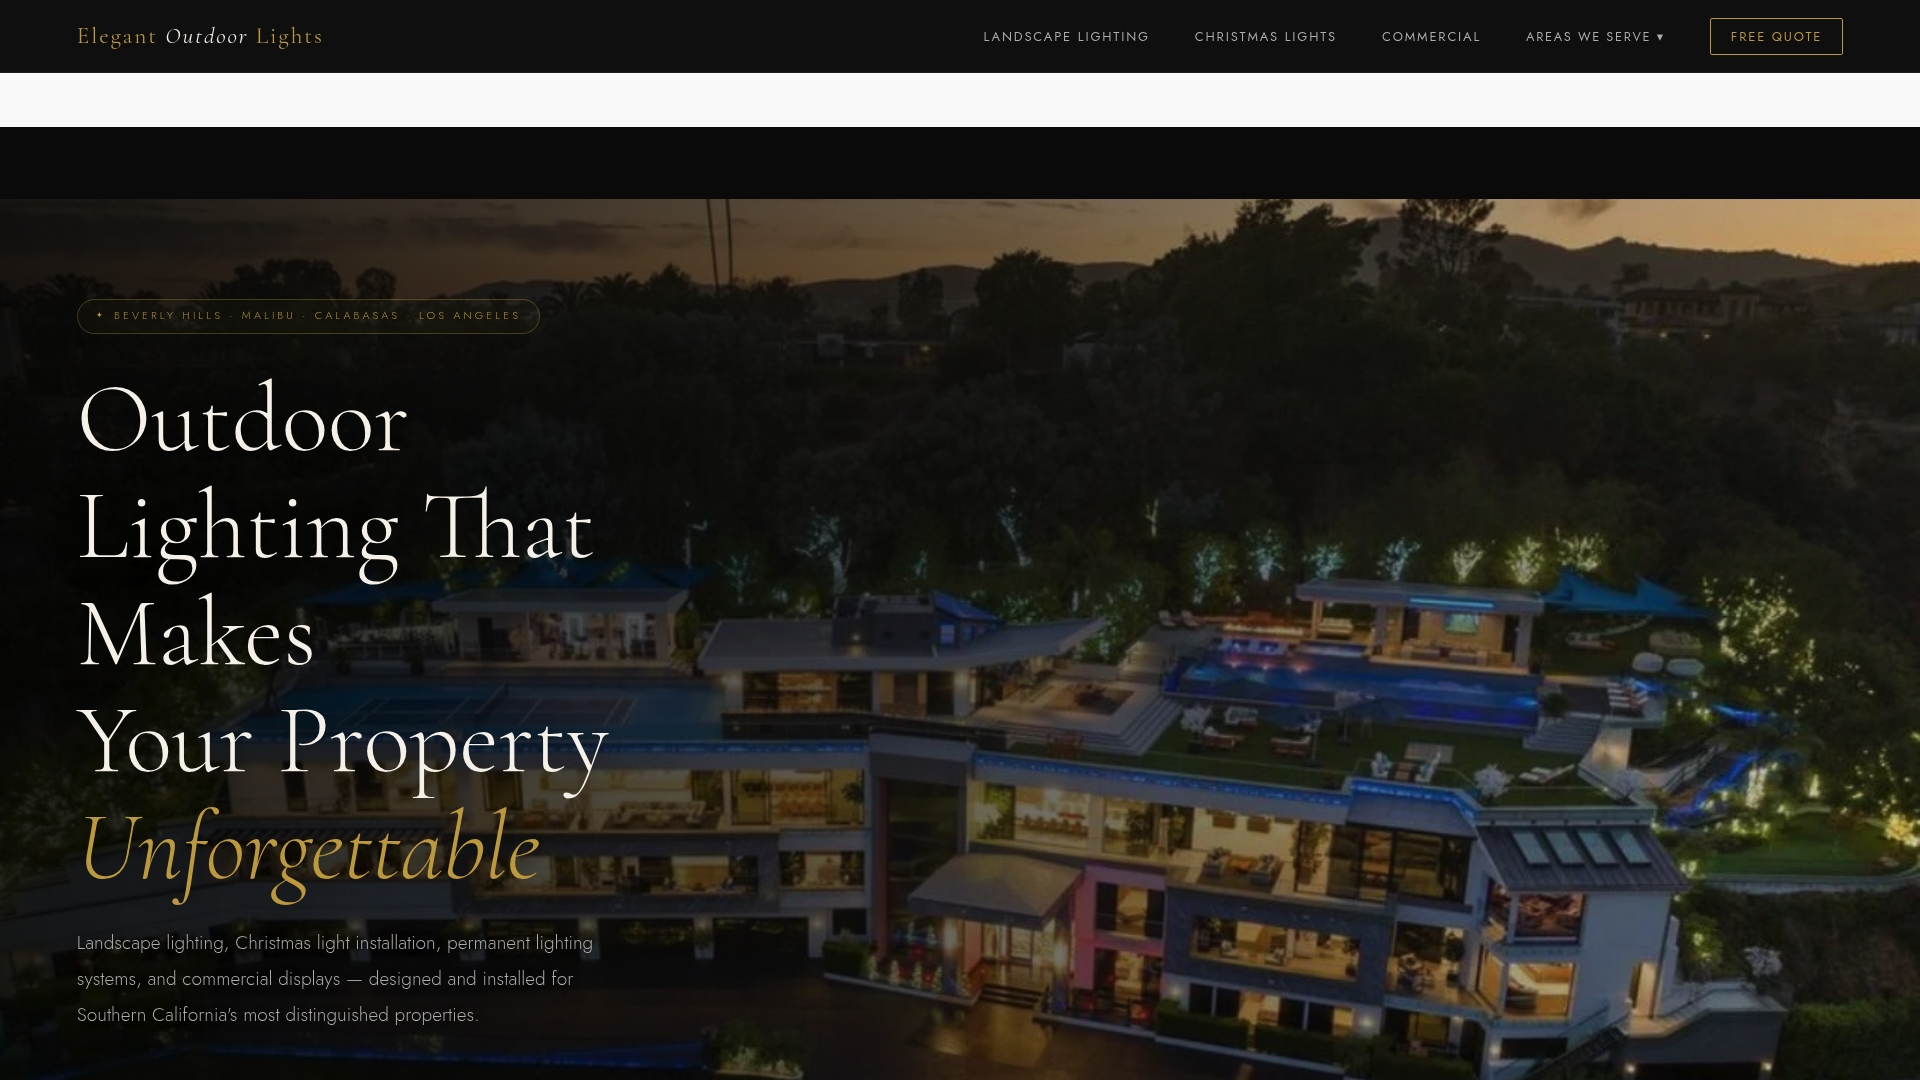
The team handles permit procurement, professional installation, and a designer-led commissioning session to confirm every fixture performs exactly as intended. From year-round landscape lighting to full holiday installations, Elegant Outdoor Lights delivers a white-glove experience from the first site visit through final sign-off. Contact Elegant Outdoor Lights to schedule your consultation and see what your estate looks like after dark.
FAQ
How long does the estate lighting design process take?
Most estate lighting projects run 4–12 weeks from initial consultation to final commissioning. The design phase takes 2–6 weeks, and permit approval adds another 2–6 weeks depending on the jurisdiction.
What is included in an estate lighting design brief?
A lighting design brief documents preferred color temperatures, fixture styles, zones to highlight, control system preferences, and budget parameters. It serves as the reference document for the entire project.
Do estate lighting projects require permits?
Line-voltage fixtures and extensive wiring installations almost always require electrical permits. Low-voltage systems may be exempt depending on local code, but your designer should confirm the specific requirement before work begins.
Why is the nighttime commissioning session necessary?
Commissioning is the session where the designer fine-tunes every fixture after dark under real conditions. Aiming adjustments as small as 5 degrees change the visual result significantly, and this precision cannot be achieved during daytime installation.
What is the difference between uplighting and downlighting?
Uplighting places fixtures at grade and aims them upward to accent trees and facades. Downlighting mounts fixtures overhead and casts soft light downward, mimicking natural moonlight for pathways and outdoor living areas.